Step 1: Install and activate Outlook Add-in
Here is link to install Outlook add-in (This is one time process)
And here is link of help article that explains how you can access Outlook add-in on multiple platforms.
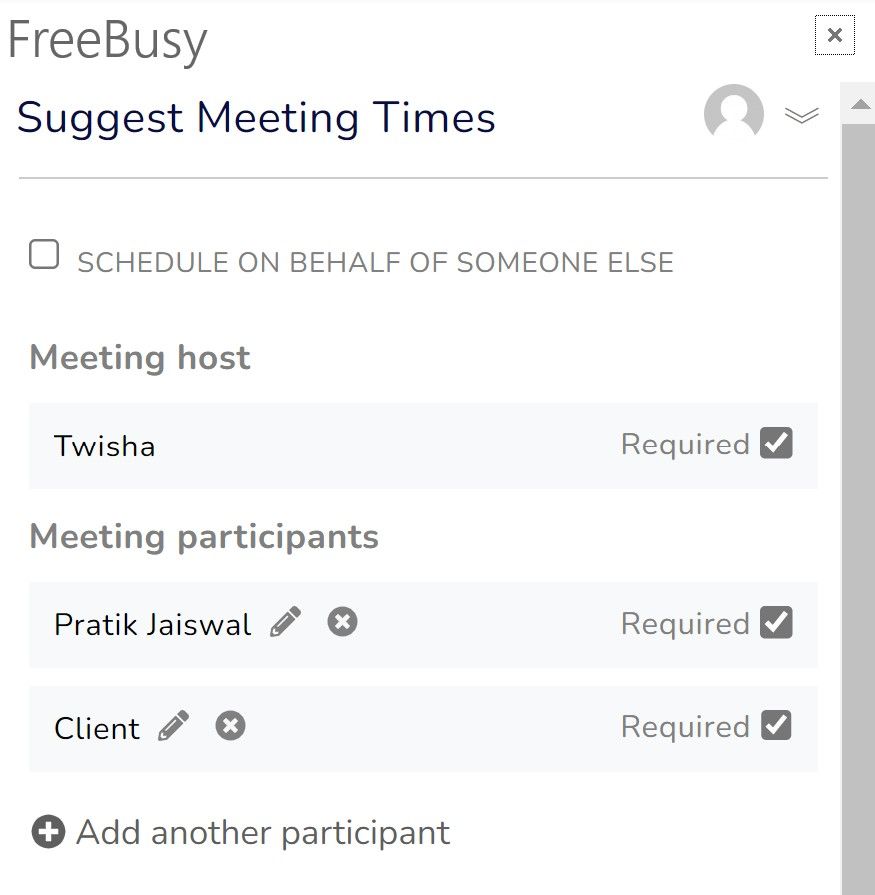
Step 2: Start composing email and add email of your guest with whom you want to schedule the meeting into "to" line.
You will notice that as you add you guest into "To" line, they also get added into FreeBusy Outlook Add-in as participant.
Step 3: Select Meeting Template for the type of meeting you with to schedule
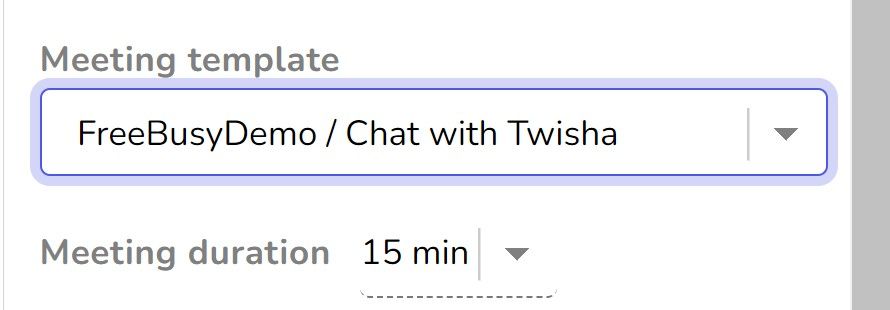
Step 4: Review the rest of meeting details.
Review if duration, meeting topic and location are as per your liking for this meeting.
You can also "Pick Times" to offer multiple time option to send to people.
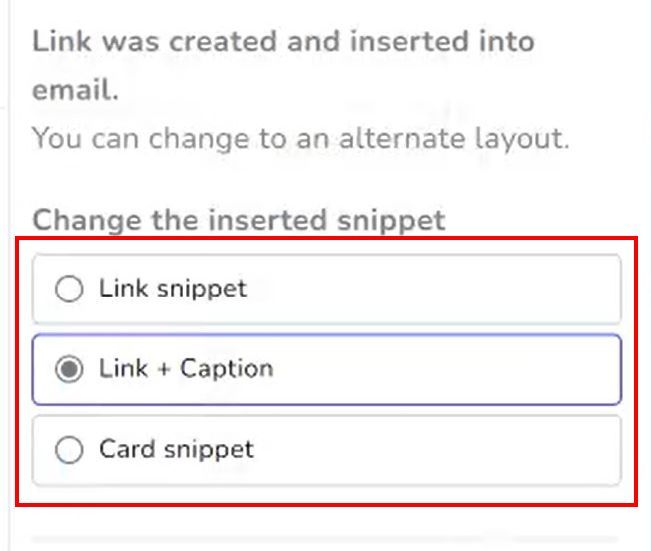
Step 5: Click on "Insert Link"
Your availability link for selected Appointment Type and a snippet will be inserted in your email. You can also change the snippet if you want.
Step 6: Send email.
You can also send email to yourself and open the link into your browser to test the availability link. Select time(s) as if you are your guest and submit the proposal.
Step 7: Accept meeting
You will receive an email notification for proposal. You can simply accept the meeting to get the meeting scheduled. You can also accept/decline proposal from FreeBusy website.
Meeting gets scheduled.