It’s really simple to automatically add Zoom web conferencing to meetings scheduled with FreeBusy. You just have to connect it once and you’re done. Then, it’s just up to you if you want to select Zoom as your conference call venue.
Here are the quick steps to integrate Zoom with your FreeBusy account:
1). Sign-in into your FreeBusy account
2). In the drop-down menu, select Calendars and Integrations:
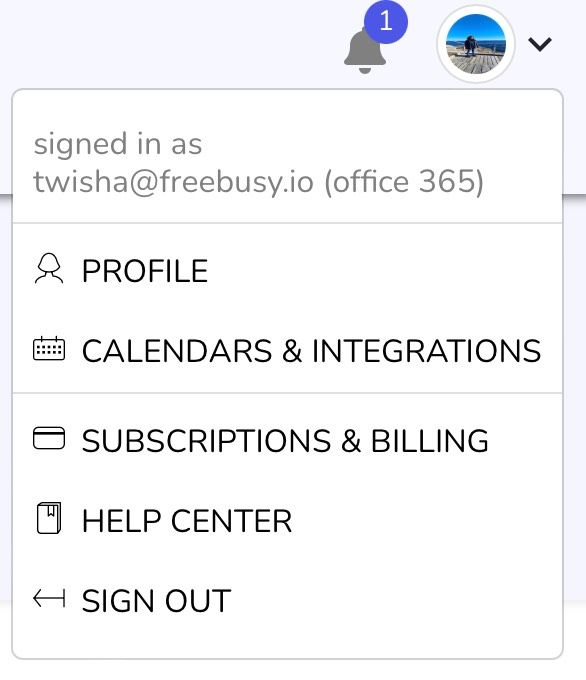
3). Click on Integrations tab and Link Another Integration.

4). Scroll down the list to find Zoom and click Add.

5). Next click on the Sign in with Zoom
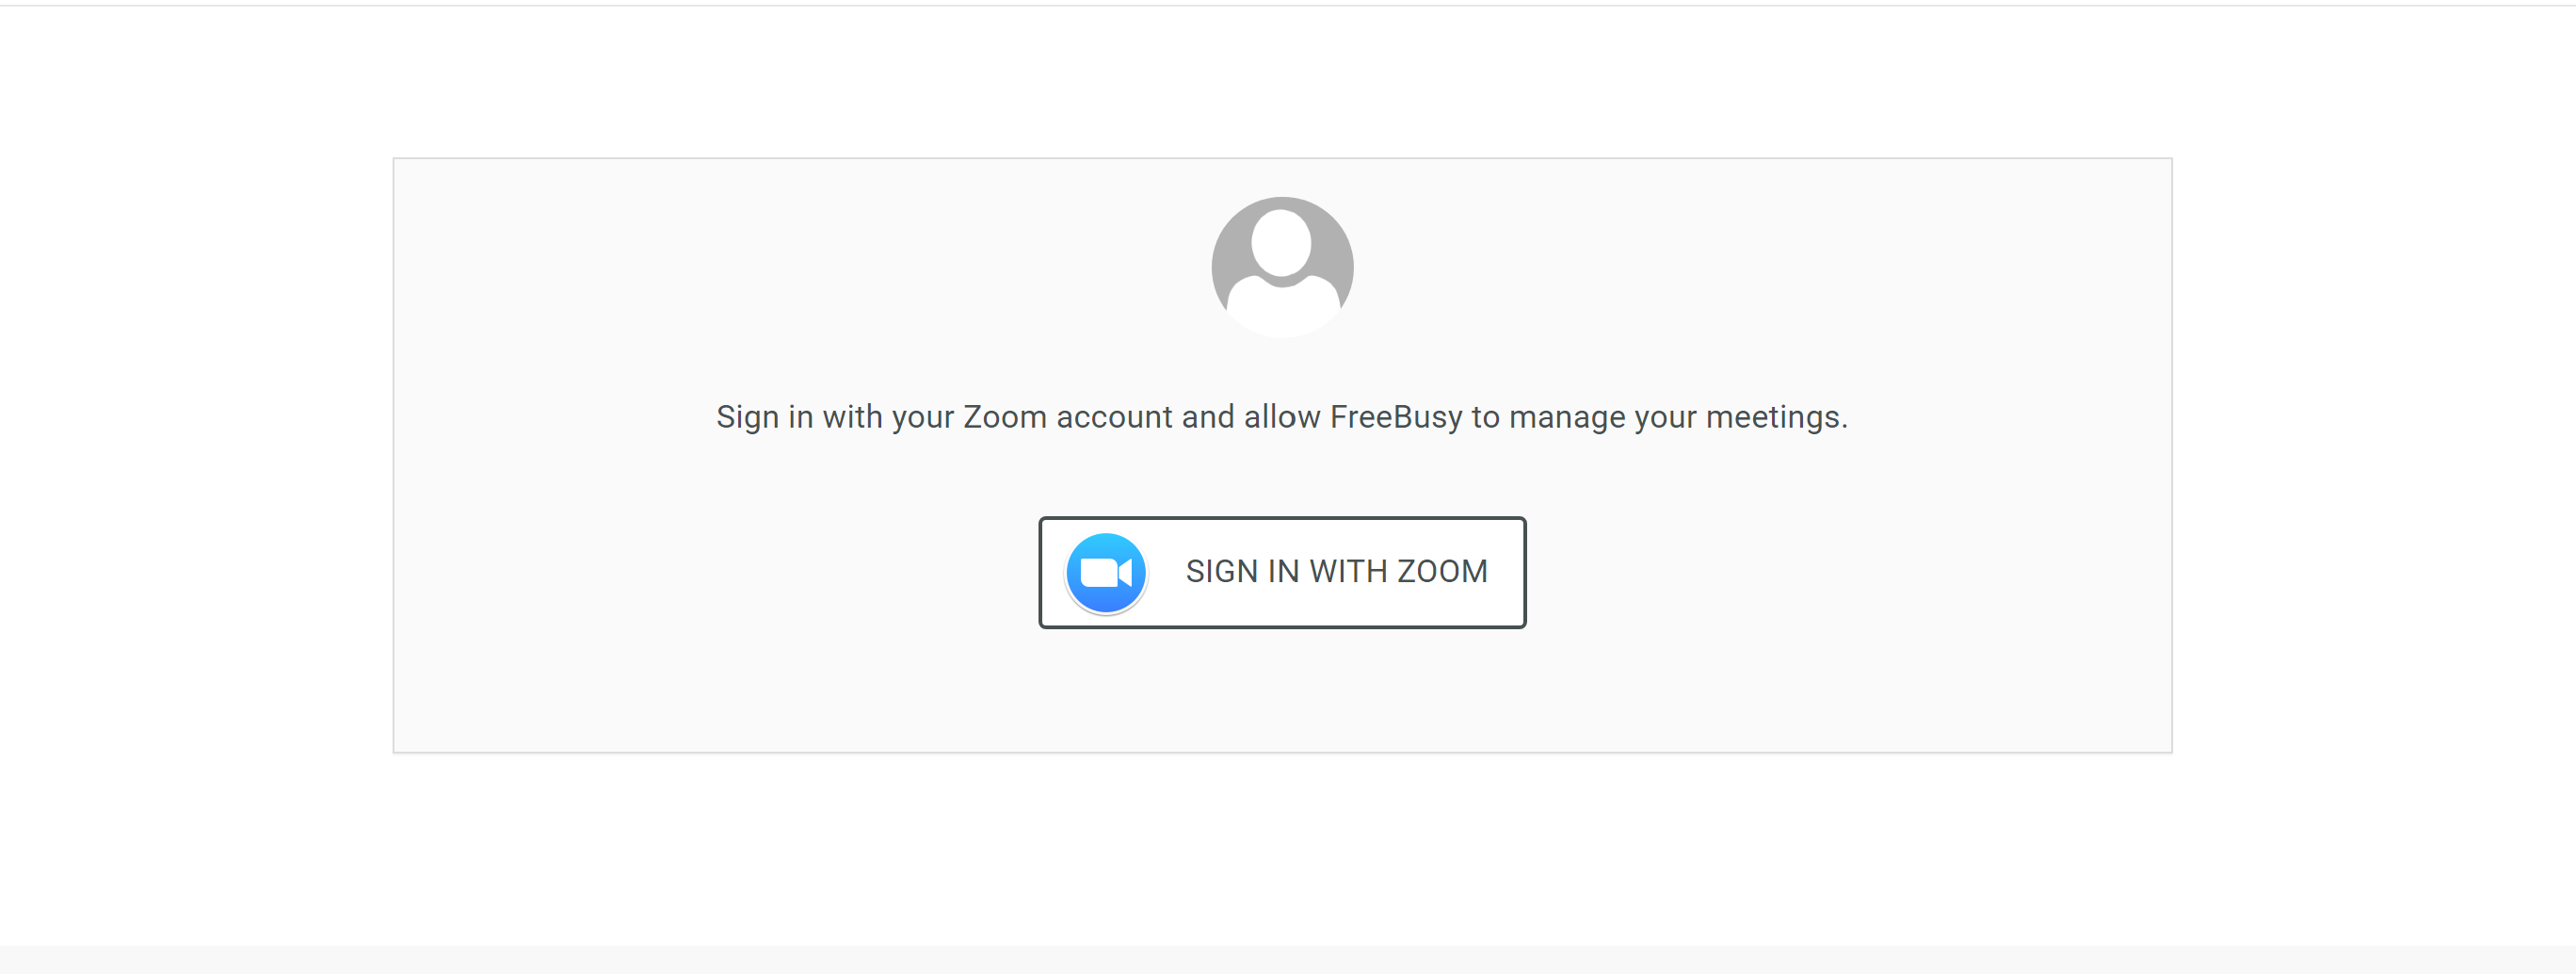
6) It would ask you to enter your sign-in credentials.
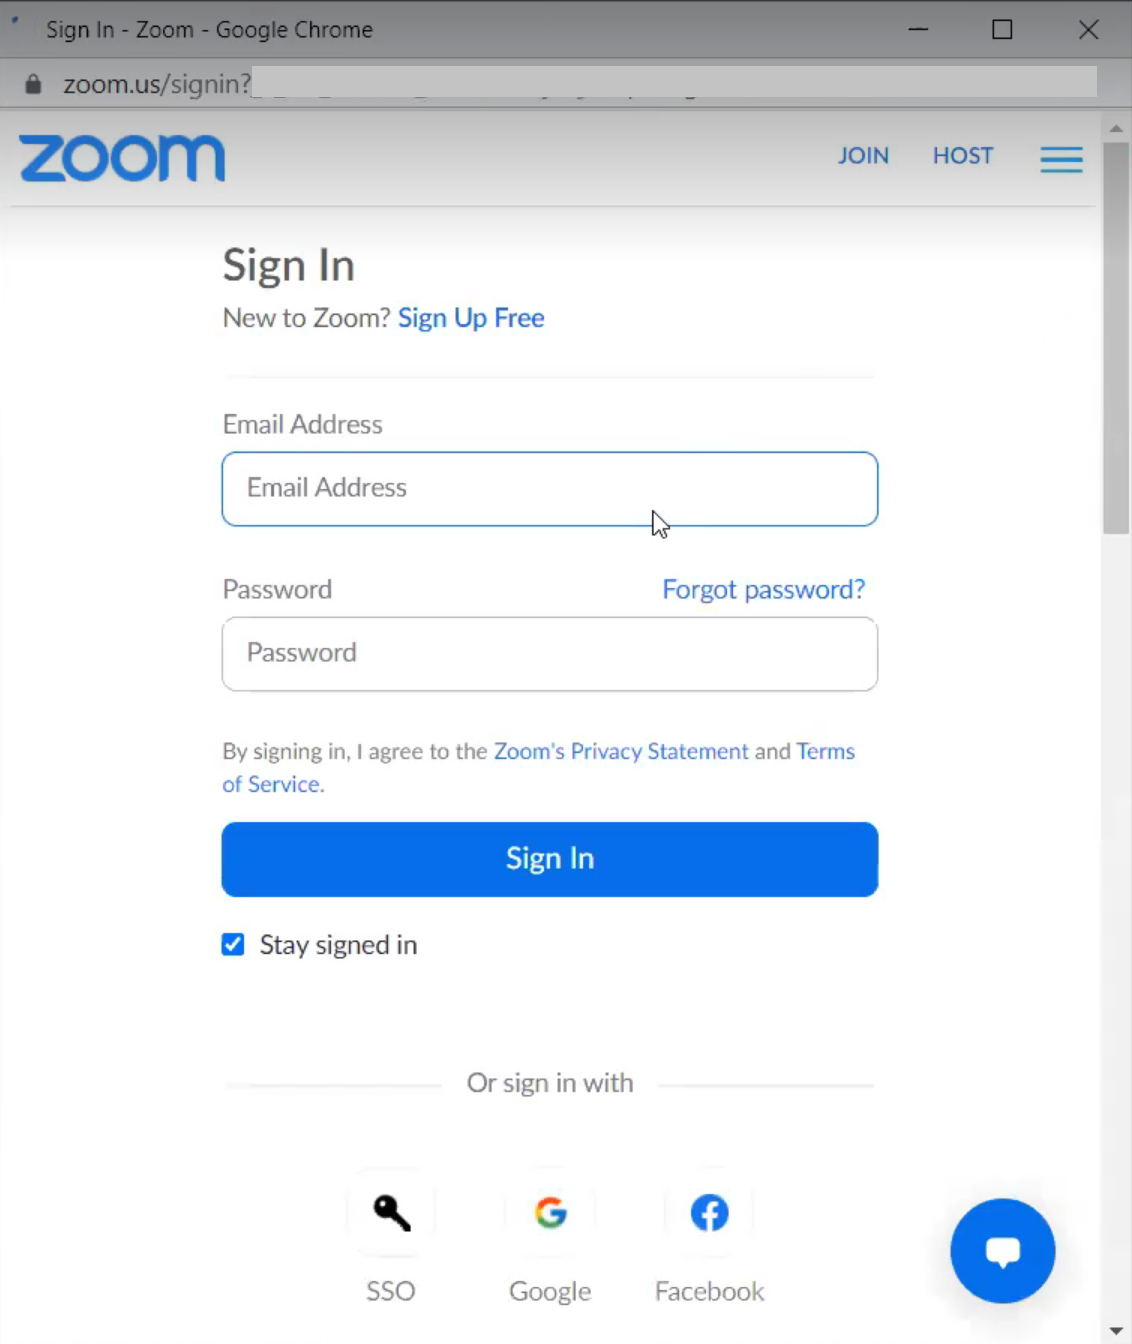
However, if you are already signed-in into the Zoom account, you would see the below screen.
7) So you need to first click on the Sign-out button at the top
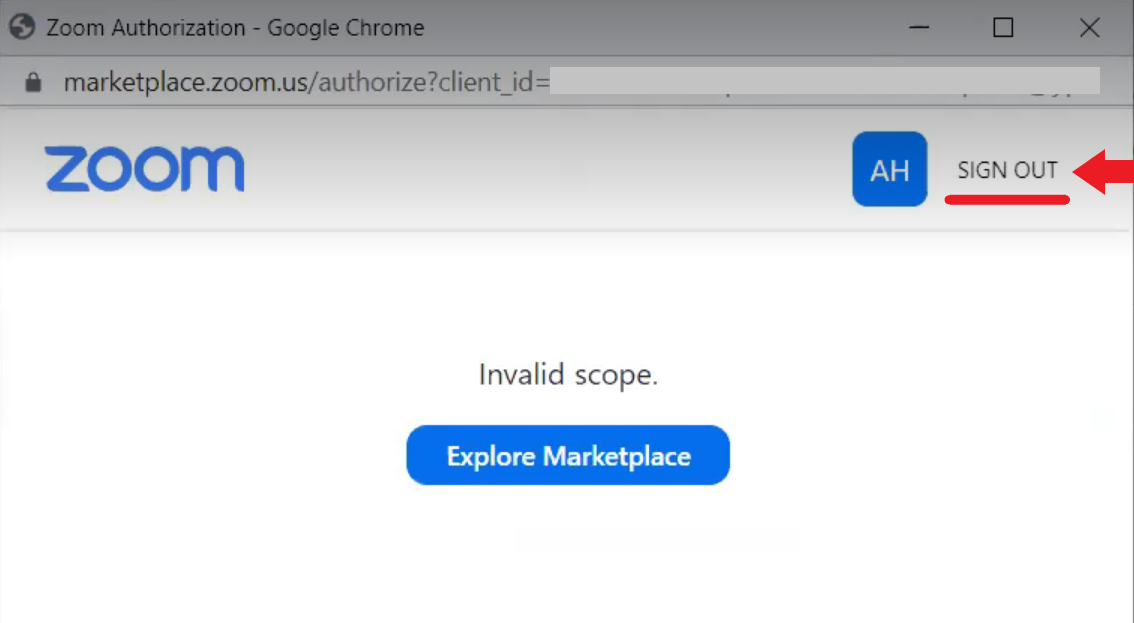
Once you sign-out it would show you the screen on step 6.
After sign-in, Zoom would be automatically linked to your account.
8) For some users, an additional step of approval may be required to complete the authorization.
Click on the toggle button as shown in the screenshot below:
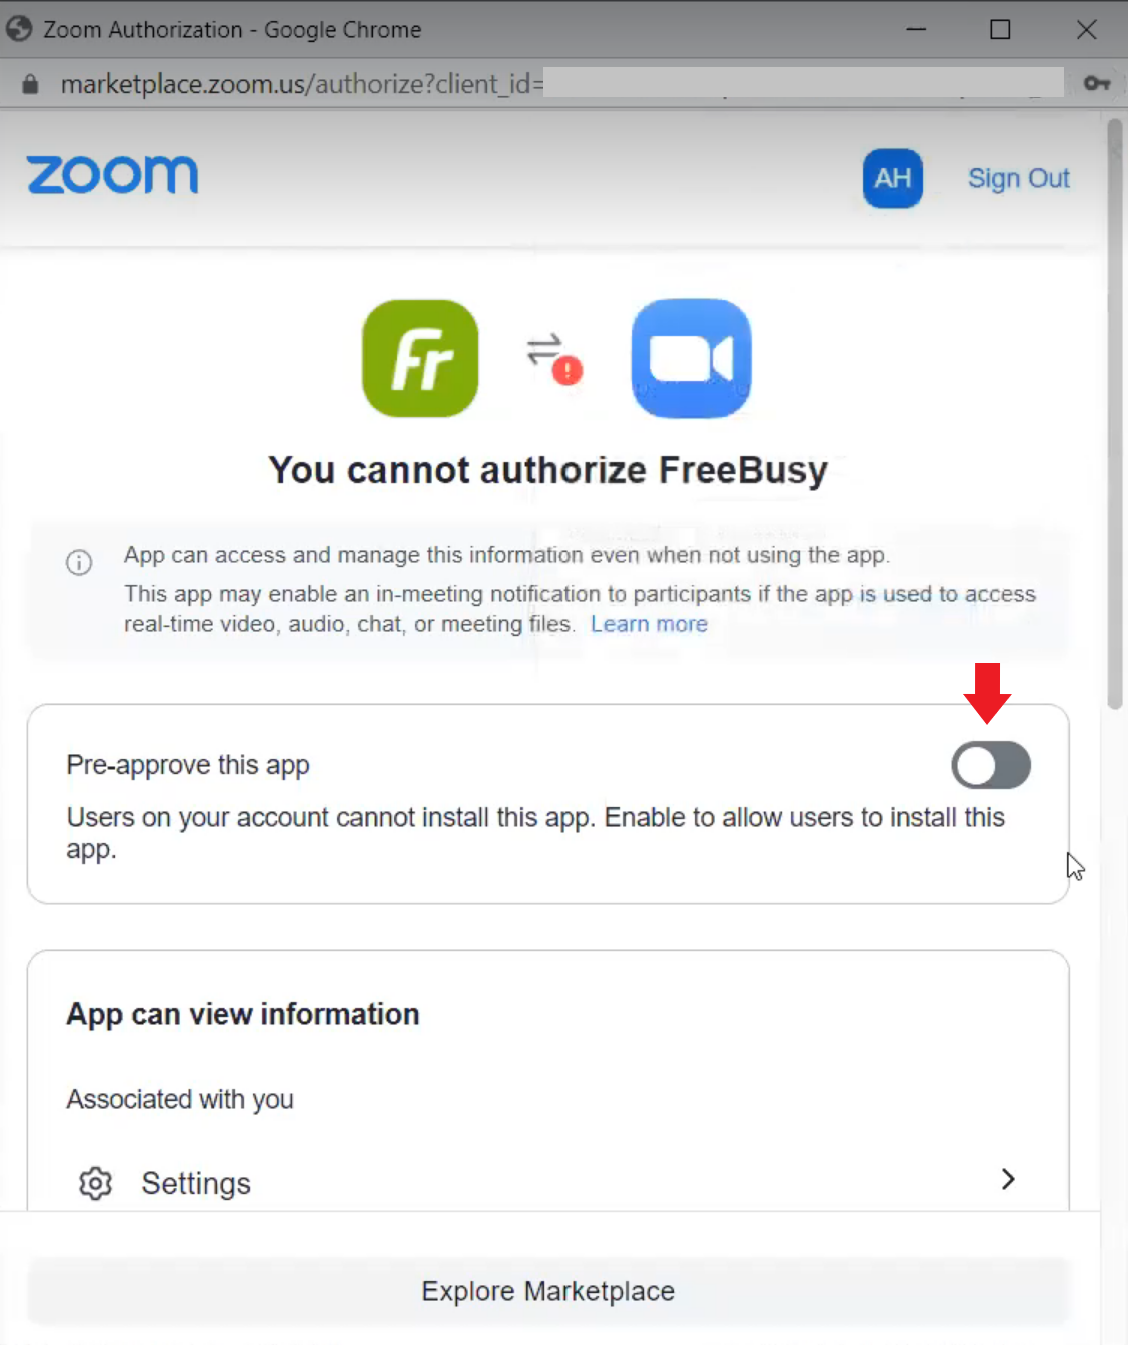
Now check the checkbox that shows up at the bottom and then finally click on the Authorize button.
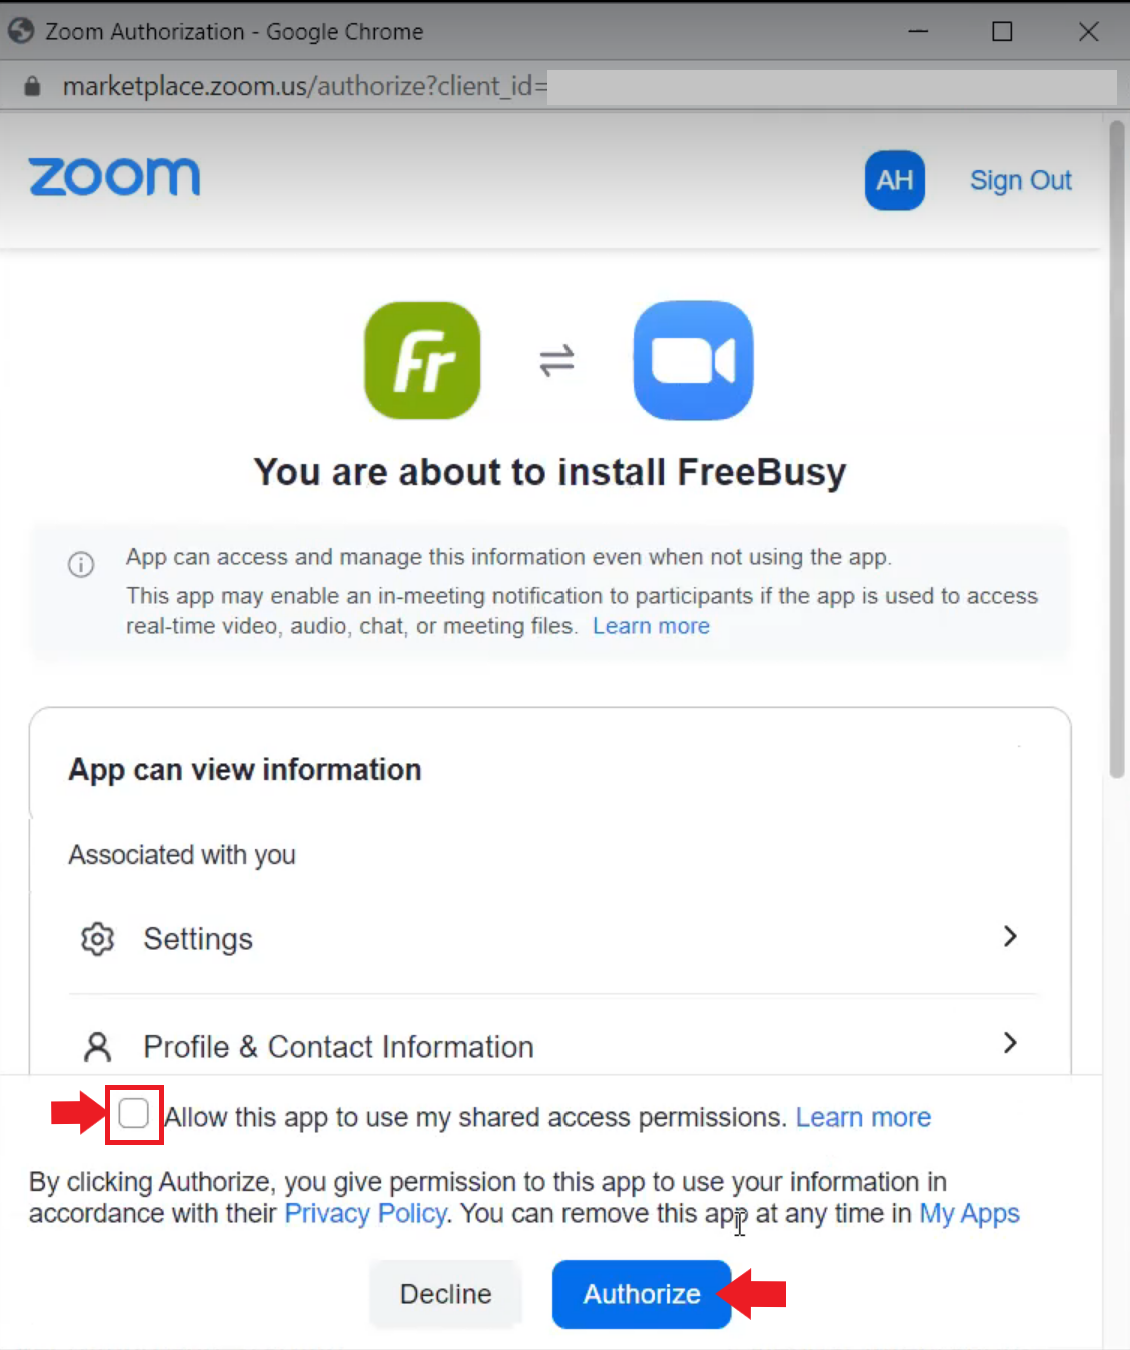
Zoom should now be linked with your account. You can then refer to this guide on how to select your default conferencing provider for meetings scheduled with FreeBusy.
Happy scheduling!
